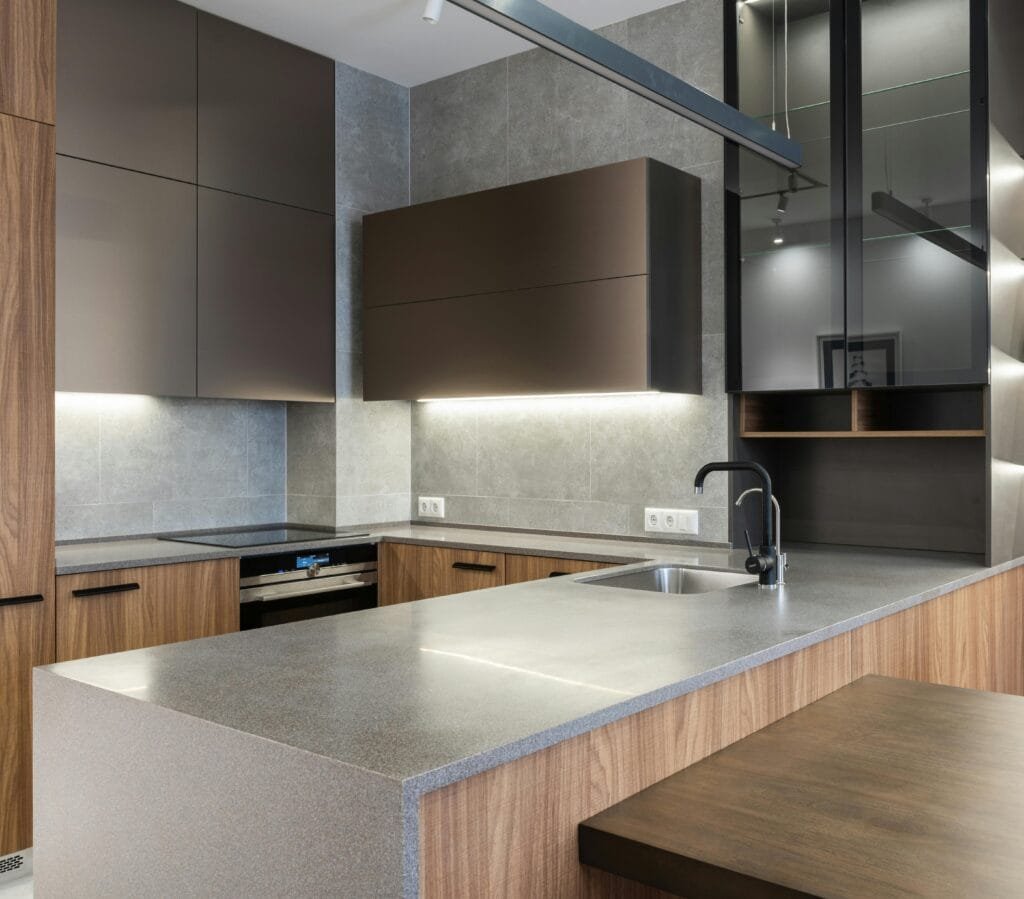
Updating your cabinets can dramatically transform your home without the cost of a full renovation. Whether your kitchen, bathroom, or storage spaces are starting to look worn, painting or refinishing old cabinets is a practical way to give them new life. For those searching for professional craftsmanship and quality, cabinets Mackay experts are known for helping homeowners achieve polished, long-lasting finishes that blend beauty with functionality. But with the right approach, tools, and techniques, you can also take on this rewarding project yourself.
Why Refinish Instead of Replace?
Replacing cabinetry can be expensive and time-consuming, but refinishing or painting can refresh your space for a fraction of the cost. Well-built cabinets often have solid frames and hardware that can last for decades. A new coat of paint or stain brings out their potential again, instantly modernizing your interior and extending the life of your existing cabinetry.
Refinishing is also an eco-friendly choice. Rather than sending old materials to the landfill, you’re reusing and repurposing what you already have—reducing waste while improving aesthetics. This makes it both a cost-effective and sustainable home improvement project.
Step 1: Preparation Is Key
The success of a refinishing project depends largely on preparation. Before you begin painting, take time to clean, sand, and prime the surfaces properly.
- Remove doors and hardware: Unscrew hinges, handles, and knobs. Label each piece so you can easily reassemble everything later.
- Clean thoroughly: Use a degreasing cleaner to remove oils, grime, and residue that can prevent paint from adhering properly.
- Sand the surfaces: Lightly sand using medium-grit sandpaper (120–150 grit) to remove the old finish and create a smooth surface for the primer to grip.
- Fill imperfections: Patch any holes, cracks, or dents with wood filler, then sand again for a seamless result.
Proper prep ensures your paint or stain goes on evenly and adheres well, resulting in a finish that lasts for years.
Step 2: Choose the Right Finish
The type of finish you choose determines not only the final look but also the durability of your cabinets. Here are some popular options:
- Paint: Ideal for a bold, modern transformation. Satin or semi-gloss paint is best for cabinets because it’s easy to clean and resists moisture.
- Stain: If you want to highlight the natural wood grain, staining is an excellent choice. It adds depth and character while protecting the surface.
- Varnish or Polyurethane: These clear finishes can be applied over stain or paint to add durability and a smooth sheen.
For a professional-grade finish similar to what cabinets Mackay specialists might achieve, consider using a paint sprayer instead of a brush. It delivers even coverage with fewer visible strokes.
Step 3: Priming and Painting
Applying primer is a must before painting wood surfaces. It seals the grain, prevents stains from bleeding through, and improves paint adhesion.
- Apply primer: Use a high-quality bonding primer. Let it dry completely, then lightly sand again for a smoother finish.
- Paint in thin layers: Two to three coats of paint are usually ideal. Allow each coat to dry thoroughly before applying the next.
- Finish with a sealant: Once your final coat is dry, apply a protective clear coat for added resistance against wear and tear.
Be patient with drying times—rushing this step can lead to peeling, bubbling, or uneven texture.
Step 4: Reassemble and Detail
After everything is dry, carefully reattach the doors and hardware. You can upgrade handles and knobs for an instant design refresh. Soft-closing hinges or hidden hardware can also add a touch of sophistication and functionality.
Before reinstalling, check that all pieces align correctly. Adjust hinges or latches as needed for a professional finish.
Step 5: Maintenance Tips for Lasting Results
Keeping your refinished cabinets looking their best doesn’t take much effort. Regular care ensures they stay vibrant and functional for years.
- Wipe regularly: Use a damp cloth with mild soap to clean surfaces—avoid abrasive cleaners.
- Handle gently: Don’t slam doors or drawers; over time, this can damage hinges and finishes.
- Avoid excessive moisture: Especially near sinks, wipe up spills promptly to prevent swelling or warping.
- Touch up when needed: Keep extra paint or stain for quick fixes if scratches appear.
With minimal upkeep, your cabinets can maintain their beauty and durability for years.
Final Thoughts
Painting or refinishing old cabinets is one of the most rewarding DIY projects you can undertake. It’s affordable, eco-friendly, and completely transforms your living spaces. Whether you prefer a sleek, modern aesthetic or a rustic, natural look, the key lies in preparation, patience, and precision.
With the right tools and techniques, your old cabinetry can look brand new—bringing renewed warmth and elegance to your home. By investing a bit of time and effort, you can achieve results that rival professional craftsmanship and enjoy the satisfaction of creating a space that truly reflects your style.